The geo‑fencing feature helps ensure that only verified guests can place Orders or Service Requests when they’re physically close to the property. It works by creating a radius (measured in metres) around the property’s exact longitude and latitude.
Geo‑fencing can be managed at the Property level, and you can turn it on or off for each Outlet individually.
How to set up Geo-fencing for your Outlet
TABLE OF CONTENTS
Step 1: Open the Outlet Settings
- Go to Setup in the main menu.
- Select Outlet Settings.
- Choose the Outlet you want to configure.
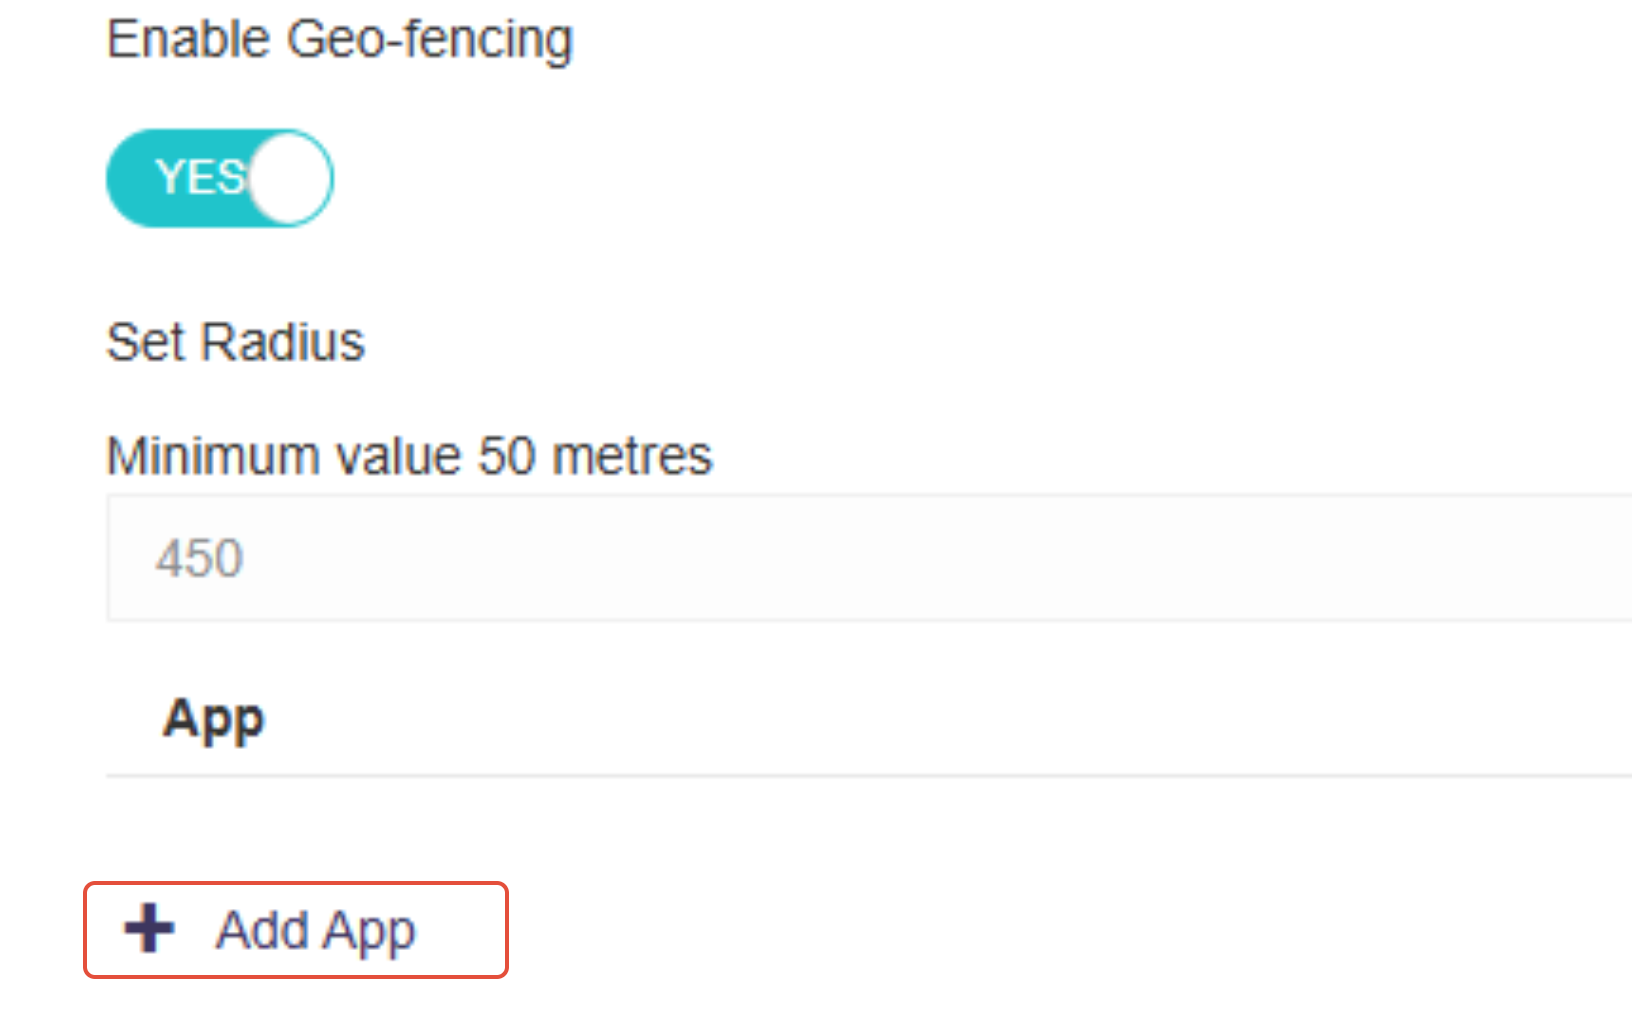
Step 2: Enable Geo-Fencing
- Find the Enable Geo-fencing toggle (at the bottom of the page)
- Switch it on.
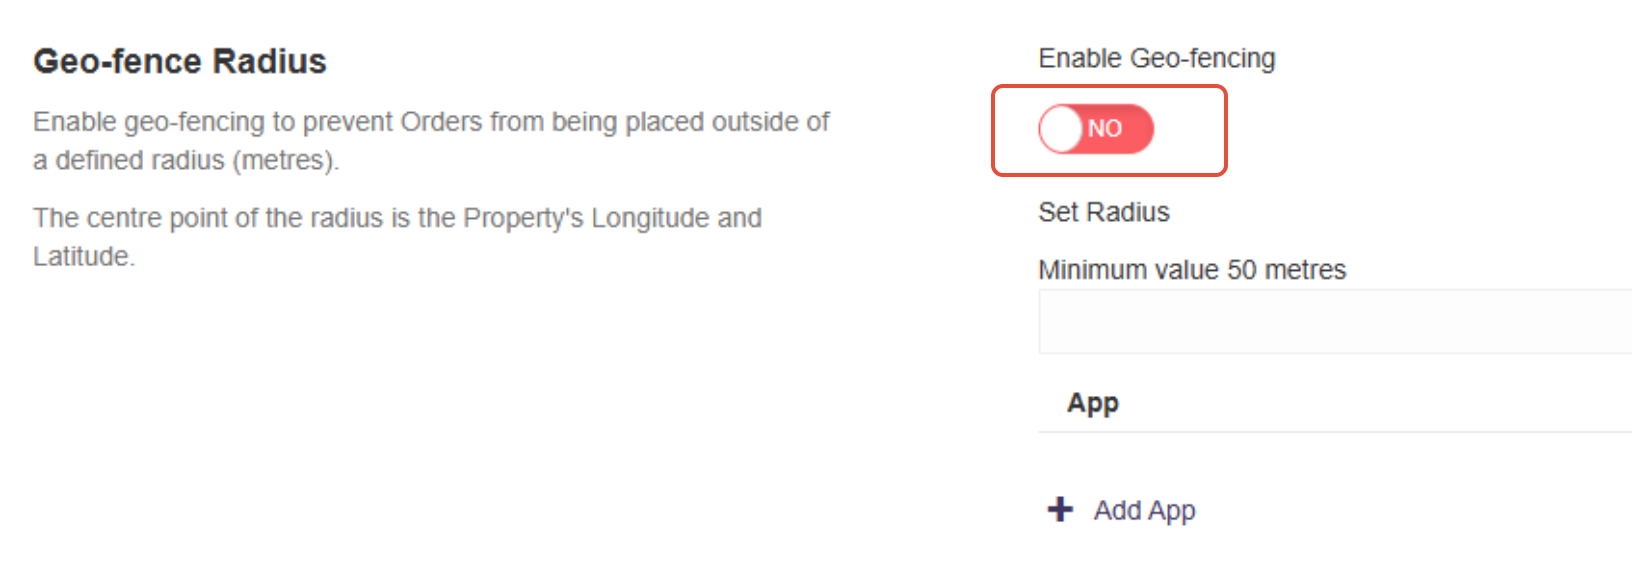
Step 3: Set the Geo-Fence Radius
- A text box will appear for entering a radius.
- Type in any whole number within the allowed range.
- This number represents the radius around the Outlet where geo-fencing will apply.

Step 4: Add an App to the Geo-Fence
- Click Add App below the radius field.
- Choose the App you want to apply geo-fencing to. This will normally be the domain name of your site or 'IRIS Guest Web' - enabling both is fine
- Click Save in the pop-up dialog.
Step 5: Save Your Changes
- Once everything looks correct, click Save in the top-right corner of the Outlet Settings page.
Geo-fencing uses the longitude and latitdute configured for the property. This may require adjusting to suit the exact positioning of the hotel and its grounds. Please contact your support team to have this adjusted.